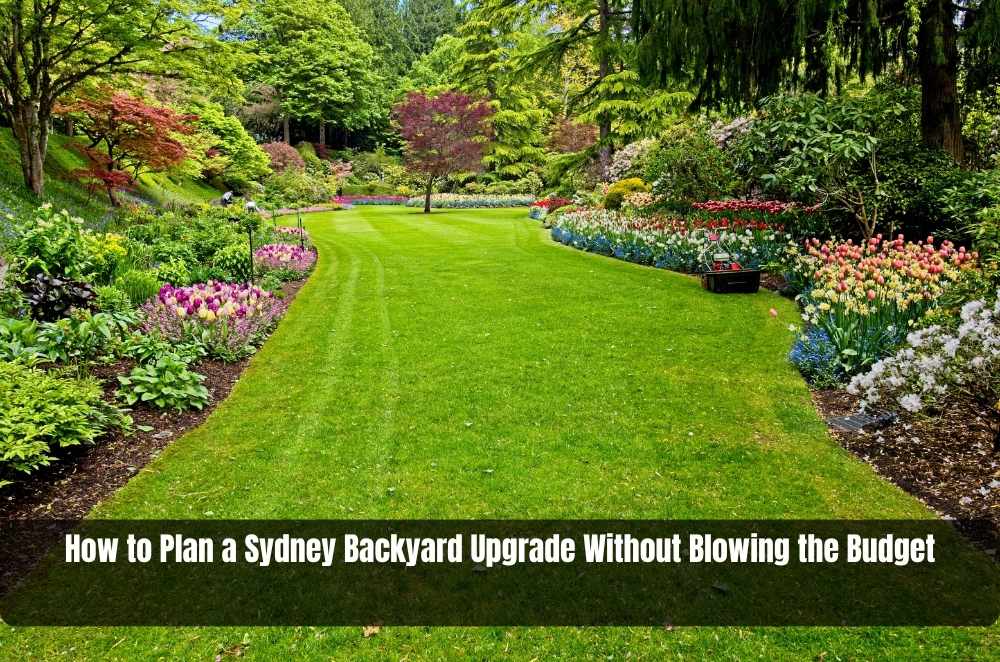
A backyard upgrade can feel deceptively simple: move a few things, add a paved area, tidy the garden, done. In reality, most blowouts happen because the “yard” is really a chain of interlocking decisions—levels, water flow, access, materials, and maintenance—all locked to the same site constraints.
The good news is that a professional-looking result doesn’t require a luxury budget. It does require a clear scope, smart sequencing, and a few non-negotiables that stop rework later.
This guide walks through the choices that matter, the mistakes that derail projects, and a practical two-week plan for getting from “we want something nicer” to a brief that can be quoted accurately.
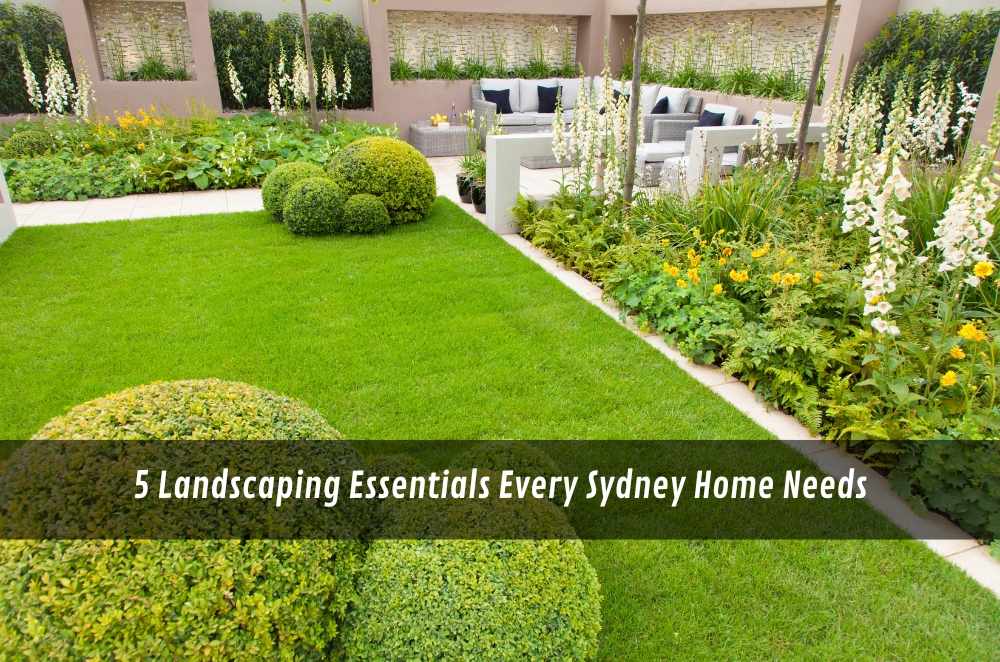
What “professional” should mean for a backyard upgrade
A professional outcome is less about fancy finishes and more about how the space functions after the first heavy rain, the first summer heatwave, and the first year of use—the standard you should expect from professional landscaping services in Sydney.
Start by thinking in four layers:
1) The site and levels.
If the yard doesn’t drain properly, everything else becomes a patch.
2) The structure.
Paving, edging, steps, walls, and any built elements should be designed for traffic, not just looks.
3) The planting and surfaces.
Plant selection, lawn alternatives, and mulch choices should match the light, soil, and how much time is actually available for upkeep.
4) The “habits” of the household.
A yard that works for weekday routines beats a showpiece that’s annoying to use.
A professional approach also means being honest about constraints. If access is tight, materials might need to be brought in smaller loads. If the block is reactive clay, some hardscapes will need extra attention. If there’s runoff from neighbouring properties, drainage becomes a design input, not an afterthought.
The decisions that shape cost and outcome
Most budgets are set by a small set of early choices. Changing these later is where money evaporates.
Define the primary use first
Decide what the yard is for before deciding what it looks like.
Common primary uses include:
Outdoor dining and entertaining
Kids and pets
Low-maintenance greenery
Privacy and screening
A “clean edge” upgrade for resale appeal
If there are multiple uses, prioritise one and support the others. Trying to make every corner do everything usually creates awkward circulation and wasted square metres.
Choose your “hardscape” strategy
Hardscape often eats the biggest chunk of the budget, and it’s the hardest to redo.
Key trade-offs:
Paving: durable and neat; can be pricier once base prep is included.
Decking: comfortable underfoot; ongoing maintenance and weathering vary by material.
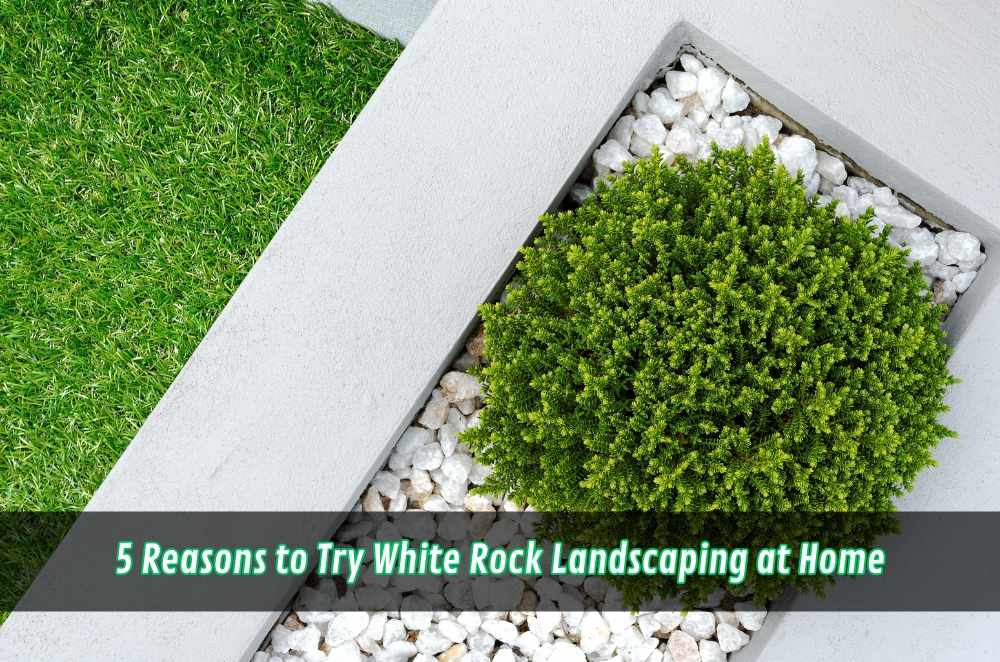
Gravel: affordable and flexible; needs good edging and a plan for weeds.
Stepping stones: simple and charming; can become slippery or uneven without proper base work.
The right choice depends on sun, shade, slope, and how the space will be cleaned. If “hose it down” is the plan, ensure water has a safe path to go somewhere sensible.
Treat drainage like a design feature, not a hidden problem
Sydney downpours are the reality check for most backyard upgrades.
Drainage decisions that matter:
Where water naturally wants to go (after rain, not in theory)
Whether hard surfaces will push water toward the house
Whether garden beds will act like sponges or like dams
How runoff is handled at boundaries
Even small changes to levels can move water toward structures. This is why “just raise that corner” can become an expensive correction later.
Be realistic about maintenance
The most common mismatch is designing a garden for a lifestyle that doesn’t exist.
Before locking in plants or surfaces, answer:
Who will maintain it, and how often?
Is irrigation needed, or will hand-watering happen in summer?
Will leaves drop heavily (and where will they accumulate)?
Are there areas that will stay damp and become mossy?
If maintenance time is limited, prioritise strong edging, simpler planting palettes, and surfaces that are easy to sweep or hose.
Don’t ignore access and logistics
Access affects labour time, material handling, and even which products make sense.
Consider:
Side access width and steps
Where materials can be staged
Whether bins and soil can be swapped easily
How neighbours and shared spaces are managed
Logistics are rarely glamorous, but they’re a major driver of cost—and they’re one of the easiest things to clarify upfront.
Common mistakes that create rework
Most “we had to redo it” stories follow the same patterns.
Mistake 1: Starting with finishes instead of levels.
Choosing pavers before confirming levels and drainage often leads to lifted, relaid, or patched surfaces.
Mistake 2: Skipping the brief and quoting off photos alone.
Quotes based on vague goals tend to exclude the messy bits: removal, base prep, access, disposal, and edge details.
Mistake 3: Underestimating the base.
A beautiful surface on a rushed base will move, crack, or settle. The base is where durability lives.
Mistake 4: Planting for looks, not site conditions.
The wrong plants in the wrong light or soil become a replacement program within a season or two.
Mistake 5: Letting “scope creep” happen mid-job.
Every “while we’re here…” adds time, materials, and decision fatigue. If upgrades are likely, plan stages rather than improvising.
Mistake 6: Forgetting the edges.
Edging is what keeps gravel tidy, mulch contained, and garden lines sharp. Weak edges make an upgrade look unfinished.
Mistake 7: No plan for water at boundaries.
If runoff crosses property lines, disputes can follow. It’s better to design water movement deliberately than to “hope it’s fine”.
Decision factors when choosing an approach or provider
Whether the job is DIY, staged, or fully managed, decision-making is what keeps it under control.
DIY, hybrid, or fully managed?
DIY: best for simple, low-risk changes (planting, mulch, small edging) if time and tools are available.
Hybrid: you handle prep or planting, and bring in help for levels, drainage, paving, or structural work.
Fully managed: useful when access is difficult, timelines matter, or multiple trades need sequencing.
The main trade-off is control versus coordination. DIY can save cash but costs time and risk. Fully managed reduces coordination but requires a clearer brief to avoid assumptions.
What to compare in quotes (beyond the total)
When quotes come back, the total number is only the headline.
Compare:
Scope inclusions and exclusions (especially removal and disposal)
Base prep detail for any hardscape
Drainage approach and where water is directed
Material allowances (exact products, thicknesses, quantities)
Edge details (how gravel, beds, and pavers are contained)
Timeline and what affects it (weather, access, approvals)
If a quote feels vague, it usually means either the brief was vague or the assumptions weren’t written down.
Operator Experience Moment
One of the most useful habits on outdoor projects is a “walk-after-rain” check. A yard can look level and tidy on a dry day, then reveal pooling, runoff channels, and soggy corners the moment it rains. Doing that quick inspection early changes the entire plan—because it forces drainage and levels into the conversation before money gets spent on finishes.
A simple 7–14 day first-actions plan
This is a practical sequence that turns ideas into a quote-ready brief.
Days 1–2: Measure and map the space
Sketch the yard with rough dimensions
Mark fixed elements: doors, taps, downpipes, paths, trees
Note sunny vs shaded zones (morning and afternoon)
A phone photo album helps, but a simple map prevents miscommunication.
Days 3–4: Decide your “must-haves” and “nice-to-haves”
Write a short list:
Must-haves (e.g., dining area, safer steps, dog-friendly surface)
Nice-to-haves (e.g., fire pit zone, feature planting, screen planting)
This is where most budget discipline comes from.
Days 5–6: Do the rain and drainage check
After rain (or with a hose if needed), observe:
Where water pools
Where it flows quickly
Where it sits near the house
If there are persistent wet areas, treat them as a design driver, not an inconvenience.
Days 7–9: Build a clear scope and sequence
Turn your priorities into a brief:
What’s being removed
What’s staying
What’s being built
What surfaces go where
What drainage changes are needed
What planting style you want (low-maintenance, lush, native-inspired, etc.)
If the brief is getting messy, use the A1 Gardening & Landscaping Sydney project checklist to sanity-check scope, access, drainage questions, and what should be included before comparing quotes.
Days 10–14: Shortlist and quote comparison
When talking with providers, keep the conversation anchored to the brief:
Ask what assumptions they’re making
Ask what could change the price (unknowns)
Confirm how edges, levels, and water are handled
Clarify which materials are included versus allowances
If multiple quotes vary widely, the gap is usually in scope detail, base work, or disposal.
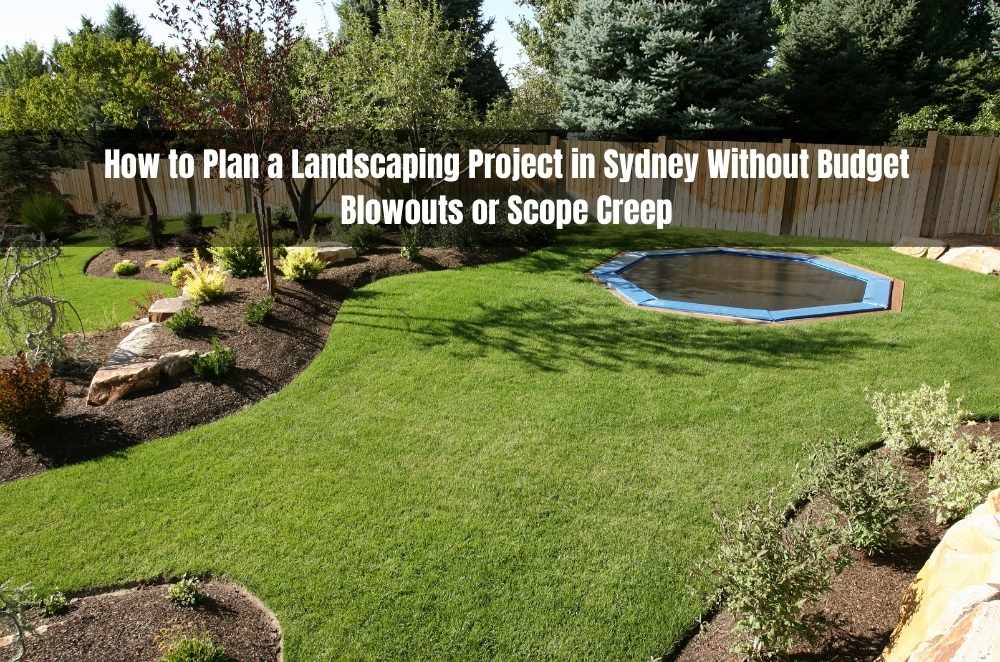
Local SMB mini-walkthrough: a Sydney-style backyard upgrade
A typical Sydney small business owner wants an outdoor space that’s tidy, low-maintenance, and usable after work and on weekends.
The first pass is often clearing overgrowth, defining clean borders, and creating one solid “anchor zone” for a table or seating.
Access can be tight in terrace-style layouts or narrow side paths, so material handling needs to be planned early.
Drainage matters quickly because heavy rain exposes low points and runoff paths across paving and garden beds.
Noise and timing can be sensitive with close neighbours, so staging the messier work into fewer days helps.
Once the hardscape is sorted, planting can be simplified into a repeatable palette that survives summer without daily fuss.
The final polish is lighting and a clean storage spot for tools, hoses, and bins so the yard stays “done”.
Practical Opinions
Prioritise drainage and edges before you spend on premium finishes.
Aim for one excellent, usable zone rather than three half-finished ideas.
If maintenance time is limited, design for sweeping and hosing, not hand-trimming.
Key Takeaways
Start with levels and water flow, then choose finishes that suit the site and lifestyle.
The biggest budget swings usually come from hardscape, drainage, and access logistics.
A clear scope brief reduces quote ambiguity and prevents mid-job “scope creep”.
Compare quotes by inclusions, base prep, drainage plan, and edge details—not just totals.
Common questions we hear from Australian businesses
How do you keep a backyard upgrade from dragging on for months?
Usually the fastest way is to lock in the scope, sequence the work, and avoid changing finishes mid-stream; the next step is to write a one-page brief with inclusions/exclusions before you seek quotes. In Sydney, weather interruptions and tight access can slow progress, so planning material delivery and staging early helps.
Is it better to do the project in one go or stage it?
It depends on budget, access, and how disruptive the work will be; the next step is to identify one “anchor zone” (like a dining area) and build the rest around it. In most cases around Sydney, staging makes sense when drainage or levels are uncertain, because those discoveries can change later choices.
What should be in a landscaping quote so there are fewer surprises?
In most cases a good quote spells out removal/disposal, base prep, edge details, drainage handling, and exact material allowances; the next step is to ask what assumptions are being made and what would trigger a variation. Usually Sydney sites with narrow access or hidden fill/clay conditions are where vague quotes turn into extra costs.
Do you need approvals for backyard work?
It depends on what’s being built and where it sits; the next step is to confirm whether any structural elements, significant retaining, or drainage changes trigger formal requirements and to consult a qualified professional if unsure. In most cases in Sydney, straightforward garden refreshes and minor changes are simple, while bigger structural changes can be more sensitive due to neighbouring boundaries and water flow.


Write a comment ...