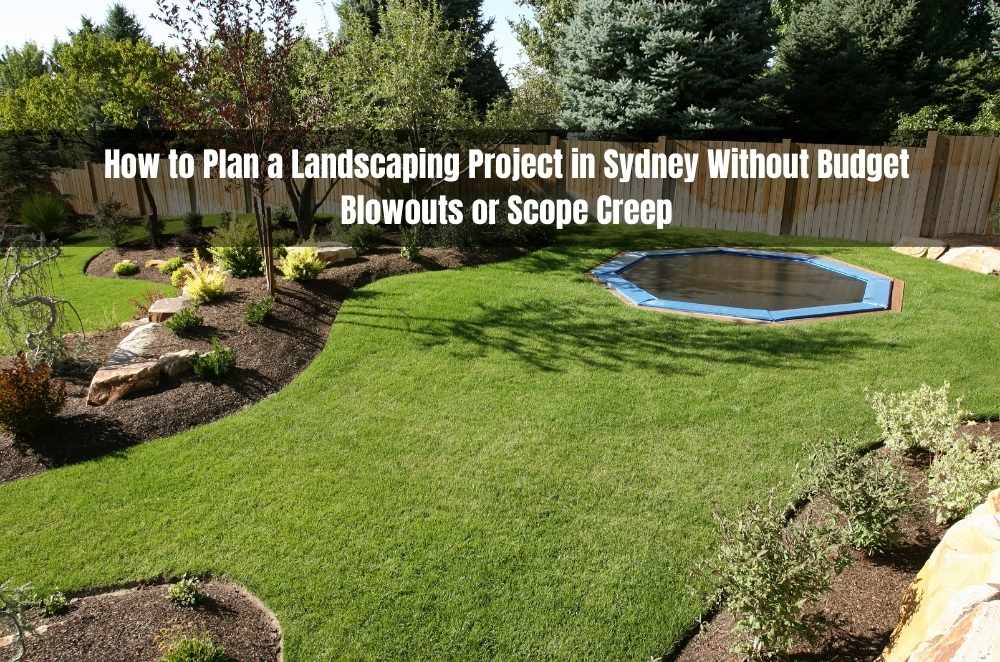
Landscaping looks straightforward on a weekend sketch. Then you notice the slope, the side gate is tighter than you remembered, and the “quick fix” starts growing extra limbs. Most blowouts aren’t caused by one big mistake.
They come from vague scope, unspoken assumptions, and decisions made in the wrong order.
Why outdoor projects get messy
People picture the finished look first, which is understandable.
But the site doesn’t care about inspiration photos.
Water will still run where it wants to run, clay will still behave like clay, and access will still dictate how materials move in and out.
Another quiet problem is language: “low maintenance”, “tidy”, “modern”, “family-friendly”.
Everyone nods, but each person imagines something different.
Define “done” before you touch materials
Start by writing what the space needs to do.
Not “new pavers” or “fresh turf”, but “safe walkway to the bins”, “room for a table of six”, “a spot the dog can use without destroying the garden”.
Then write what “done” means at the end of day one, not at the end of your dream build.
Next, list the constraints you can’t argue with: sun and shade, where water sits after rain, any level changes, tree roots you want to protect, and how wide the access really is.
Take photos, do rough measurements, and note where deliveries could land without blocking cars, bins, or neighbours.
If you want a simple way to pull those notes into one place before you request quotes, A1 Gardening & Landscaping Sydney project checklist can be a useful reference.
That kind of prep turns “we’re thinking of doing something out here” into a clear brief.
Decision factors that change results (and cost)
DIY is fine when the job is small and forgiving.
Think mulch, basic planting, or replacing a few tired edging sections where you can redo it without tearing everything up.
Partial help makes sense when the “bones” matter—levels, drainage, paving base prep, retaining wall installation for Sydney properties while you still want to handle simpler finishing touches yourself.
Full-service usually pays off when there are multiple moving parts, tight timing, or a site where access and logistics are half the battle.
Drainage and levels come first because they decide whether the rest will last.
Materials should be chosen for behaviour, not just looks: heat underfoot in summer, slip resistance in rain, how easily it hoses down, and how it copes with leaf drop and foot traffic.
Common mistakes that cost time and money
Requesting quotes without a consistent scope is the big one.
You’ll get three numbers that look comparable, but one includes disposal, one assumes the base is fine, and one quietly leaves out the fiddly finishing work.
Access gets overlooked all the time, especially with narrow side paths.
If it doesn’t fit through the gate, it becomes manual handling, and manual handling becomes time.
Demolition and disposal can also surprise people—old concrete, heavy pavers, and green waste add up quickly.
Choosing plants too early is another trap because soil and sun conditions might not match what you’re picturing.
And “we’ll finish that later” often turns into “we’ll live with it,” because the last 10% is the detail that makes the space feel properly done.
A simple 7–14 day plan (no overthinking)
Days 1–2: Walk the site, take photos, measure rough lengths, and check gate widths.
Do it once after rain if you can, so you see the water story.
Days 3–4: Write a one-page scope.
What stays, what goes, what matters most, and what “done” looks like for each area.
Days 5–6: Set boundaries.
Pick your top two priorities and decide how much ongoing upkeep is realistic (not aspirational).
Days 7–9: Choose an approach.
DIY, partial help, or full-service—based on complexity, coordination load, and how quickly the space needs to work.
Days 10–14: Get quotes you can actually compare.
Send the same scope and photos, and confirm what’s included and excluded: access assumptions, disposal, drainage, and clean-up.
Operator experience moment
When projects feel stressful, it’s usually because “done” is still fuzzy.
Once the finish level and constraints are written down, the conversations change—less guessing, more practical choices.
It’s not about making it complicated; it’s about making the hard parts visible before anyone starts digging.
Local SMB mini-walkthrough (Sydney)
A small Sydney café wants a neat frontage that stays safe and easy to clean.
They map peak foot-traffic and set workable hours so service isn’t disrupted.
They measure the narrow entry and note a puddle spot that shows up after heavy rain.
They choose a slip-resistant surface and keep plants hardy and low-shed near the path.
They decide lighting early so trenching happens before the final surface goes down.
They confirm waste removal and delivery staging so bins and deliveries aren’t blocked.
Practical opinions
Sort water and levels before spending on finishes.
Pick materials for safety and clean-up, then worry about style.
If more than two trades are involved, coordination is often the hidden cost.
Key Takeaways
Write a clear “definition of done” and a one-page scope before you request quotes.
Check access, disposal, drainage, and levels early—they drive most surprises.
Choose DIY/partial/full-service based on complexity and timing, not optimism.
Make quotes comparable by sending the same scope notes to local landscaping crew in Western Sydney.
Common questions we hear from Australian businesses
Q1) How detailed should our scope be before we get quotes?
Usually, one page is enough if it includes photos, rough measurements, what stays/goes, and your definition of “done.”
Next step: send the same scope to each provider and ask them to list inclusions and exclusions in writing.
Sydney note: access width and staging space can change labour and disposal logistics quickly.
Q2) What’s the fastest way to avoid surprise costs mid-project?
In most cases, surprises drop when you identify constraints early—especially drainage behaviour and any level changes.
Next step: check the site after a wet day and note pooling, run-off direction, and soft spots.
Sydney note: sudden downpours can reveal issues that a dry-week look won’t show.
Q3) Should we pick plants first or hardscaping first?
It depends, but in most cases hardscaping comes first if you’re changing levels, paths, edging, or drainage.
Next step: lock in functional zones (access, seating, service areas) before final plant choices.
Sydney note: shade patterns can shift sharply with aspect and surrounding buildings.
Q4) Is DIY sensible for a high-traffic business frontage?
Usually, DIY is best limited to low-risk work like mulching, simple planting, and small tidy-ups.
Next step: if anything is permanent (surfaces, levels, drainage), get advice before you install.
Sydney note: wet weather plus foot traffic exposes slippery or uneven surfaces very fast.


Write a comment ...